
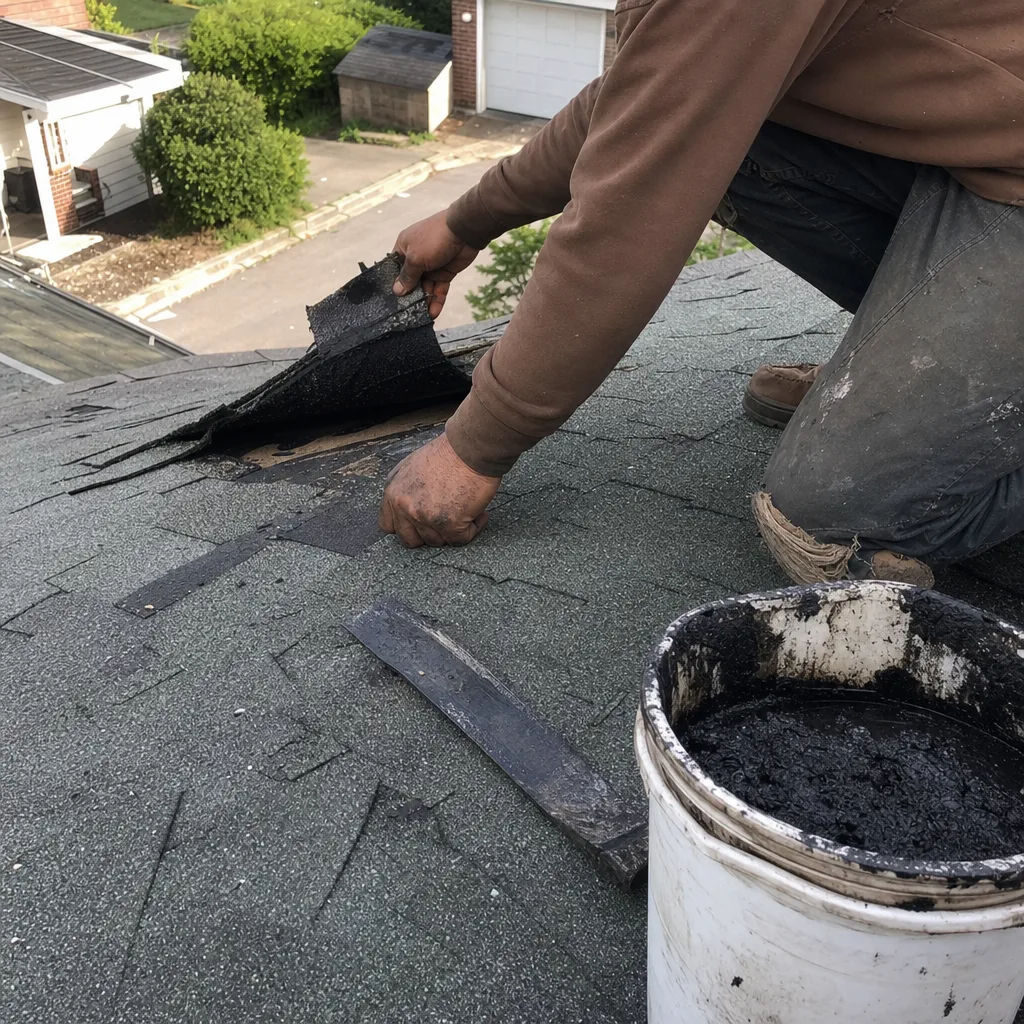
Tamko Flashing Replacement: The Philadelphia Owner’s Guide
Tamko flashing replacement in Philadelphia typically runs $340-$780 installed, depending on the location and how much surrounding material needs attention. We stock Tamko-compatible step flashing, counter flashing, and drip edge on every Ridgeline truck, and most replacements are completed in a single visit. If you’re seeing water stains on interior walls or noticing lifted shingles where the roof meets a wall or chimney, failed flashing is the most likely culprit.
Philadelphia’s freeze-thaw cycles hit flashing hard. Water creeps behind the metal, expands when it freezes, and slowly works the seams loose. In neighborhoods like Fishtown and Queen Village, we’ve found that original Tamko flashing from the 1990s and early 2000s often outlasted the caulking that was supposed to seal it, leaving homeowners with slow leaks that show up years after the first failure.
Which Tamko Models This Applies To
Tamko flashing isn’t tied to a single shingle line. It was used across Heritage, Heritage Vintage, Heritage IR, and Titan XT installations from roughly 1995 through the present, with the critical variable being the profile of the shingle rather than the series name. Heritage Vintage, with its heavier dimensional thickness, requires a deeper step flashing, typically 4×5 inches rather than the standard 3×4. If your roofer substitutes standard flashing, you’ll get a gap at the shingle edge that funnels water straight to the deck.
To identify what you have, check the stamped code on the exposed face of the existing flashing, usually found on the front leg of step flashing or the cap of counter flashing. Tamko OEM flashing carries a “TAM” stamp and a gauge marking, 26-gauge galvanized for standard residential, 24-gauge for commercial or high-wind zones. We also install quality aftermarket equivalents from Drexel Metals and Follansbee when the OEM lead time stretches past what a leaking roof can tolerate. The aftermarket pieces match Tamko’s bend angles and hem profiles, but we always verify compatibility against your actual shingle thickness before ordering.
One compatibility gotcha we’ve learned the hard way: Tamko’s pre-2010 aluminum step flashing used a slightly narrower vertical leg than current production. If your house is in Roxborough or Mount Airy and dates to that era, swapping in modern-width flashing without adjusting the mortar joint or siding course will leave an exposed seam.
Signs Your Tamko Flashing Replacement Is Failing
- Water stains on interior walls, especially at ceiling corners. This is the classic signature of step flashing failure. Water enters at the wall-roof intersection and travels along the top plate until it finds a path downward. The stain often appears feet from the actual leak point, which is why homeowners in Philadelphia row homes chase these leaks for months before finding the source.
- Rust streaks or green oxidation bleeding down brick or siding. Galvanized flashing sheds its protective layer over 15-20 years in Pennsylvania’s acid rain environment. Once the zinc is gone, the steel underneath corrodes from the inside out, and the runoff stains whatever it touches. In Chestnut Hill, we’ve replaced Tamko counter flashing that looked fine from the ground but was paper-thin at the bend when we pulled it.
- Lifted or cracked shingles at wall intersections. Flashing that has pulled away from the wall leaves a gap that wind-driven rain exploits. The shingles curl from repeated wet-dry cycles, and once they lift, the problem accelerates. This is especially common on south-facing walls in South Philly, where thermal expansion is greatest.
- Visible gaps where caulk or sealant has separated. Tamko’s installation guidelines call for sealant at terminations, but polyurethane caulk has a 7-10 year service life in our climate. When it goes, you get a direct path for water. The caulk failure often looks minor, but the volume of water a single storm can push through a 1/16-inch gap is surprising.
- Musty odors in attic spaces or top-floor closets. This indicates chronic, low-grade leakage that hasn’t yet broken through to the finished ceiling. By the time you smell it, the sheathing around the flashing is often compromised. We’ve found this in West Philly twin homes where the shared wall flashing was leaking into both attics simultaneously.
Replacement Cost & What’s Included
| Scope | Typical Range |
|---|---|
| Step flashing replacement (one wall, standard height) | $340-$520 |
| Counter flashing (chimney, cut-and-reglet method) | $480-$780 |
| Drip edge replacement (linear foot) | $8-$14/ft |
| Adjacent shingle repair/replacement | $120-$280 |
| Deck repair (if water-damaged) | $45-$85/sq ft |
What drives the range: height and pitch of the work area, whether masonry needs cutting for a proper reglet, and how far water has traveled before we catch it. We quote upfront, before any work starts. The number on the estimate is the number on the invoice. Our 90-Day Done Right Promise covers the workmanship, and we document the condition of your existing flashing with photos from your actual roof, not stock images.
We are an independent service provider, not affiliated with Tamko. We source their products and compatible equivalents through authorized distribution channels.
DIY or Call Us?
There’s a short list of things a homeowner can safely check from the ground or a stable ladder: look for the visible symptoms above, note where stains appear relative to roof features, and clear debris from valleys that might be masking the real problem. What you should not do is pry up shingles, separate sealed laps, or attempt to bend and install flashing yourself.
Flashing work requires working at height on sloped surfaces, often with pneumatic tools and sharp metal edges. More critically, improper installation channels water into the wall cavity instead of away from it, and the damage won’t show until it’s extensive. We’ve been called to Philadelphia homes where well-meaning DIY flashing work cost three times what professional replacement would have, once the hidden rot was uncovered.
If you’re unsure whether you’re looking at a flashing problem or something else, call us at (855) 554-5116. We’ll send a technician to photograph what we see and give you a straight answer about what needs doing now, what can wait, and what it costs. A roof doesn’t lie, and neither do I.
FAQs
Galvanized step flashing typically holds 18-25 years in our freeze-thaw environment, with counter flashing toward the longer end if the masonry reglet was cut properly. Aluminum lasts longer but is more vulnerable to salt air if you’re near the Delaware. The sealant, however, needs attention every 7-10 years regardless of the metal. Call (855) 554-5116 and we’ll inspect yours at no charge.
Spot repairs with sealant or tape patches sometimes buy a season, but they’re temporary. Once galvanized flashing has rusted through or the bend has work-hardened and cracked, replacement is the only lasting fix. We’ve done enough callback repairs on patched flashing to know that doing it twice is never the square deal. For an honest assessment of yours, call (855) 554-5116.
Most step flashing replacements are completed in 2-4 hours. Chimney counter flashing with mortar cutting takes a full day. We stock Tamko-compatible flashing on every truck, so we’re not waiting on delivery. Same-day scheduling is usually available if you call before noon. Reach us at (855) 554-5116.
We carry 26-gauge galvanized and .019 aluminum step flashing, counter flashing in multiple widths, and color-matched drip edge on every Ridgeline truck. Specialty profiles or pre-2010 narrow-leg aluminum may need a next-day pull from our distributor in Conshohocken. We’ll know within minutes of seeing your roof. Call (855) 554-5116 to schedule.
Written by Ned Calloway, Owner, Ridgeline Roofing Co. of Philadelphia at Ridgeline Roofing Co. of Philadelphia, serving Philadelphia and nearby areas.